Integrate with the Buttons module
Use the Buttons module to add content clickable HTTP requests to your dashboard.
This is perfect for controlling other hardware and software in your system and can be hooked up to lots of other tools on the web.
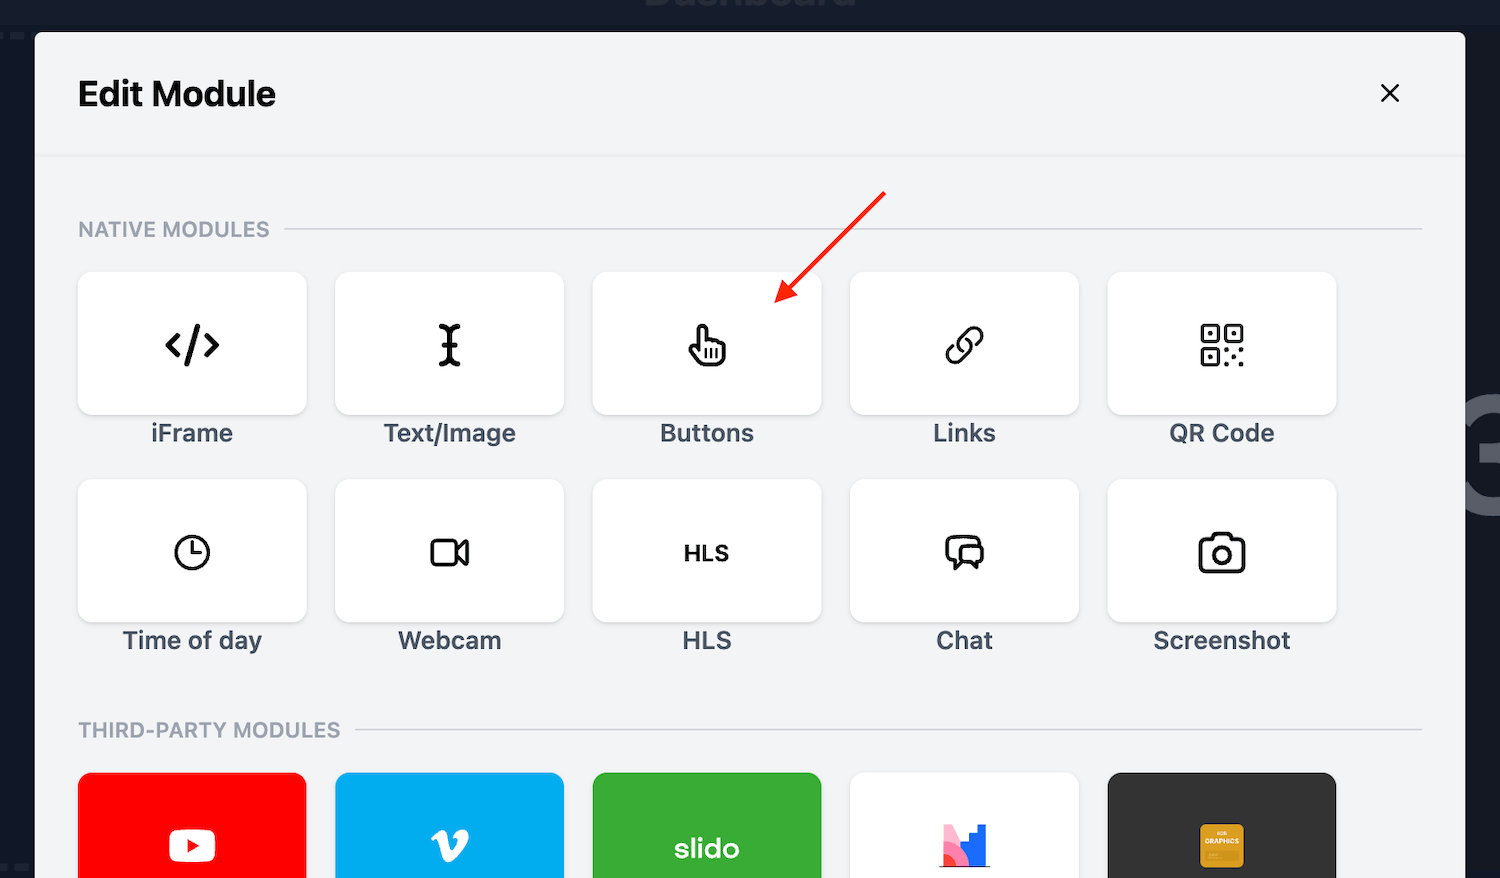
Adding the module
Choose the Buttons module from the module editor.
Configuring the Buttons module
Once you add the Buttons module, you’ll have a few options to configure to get the most out of the module.
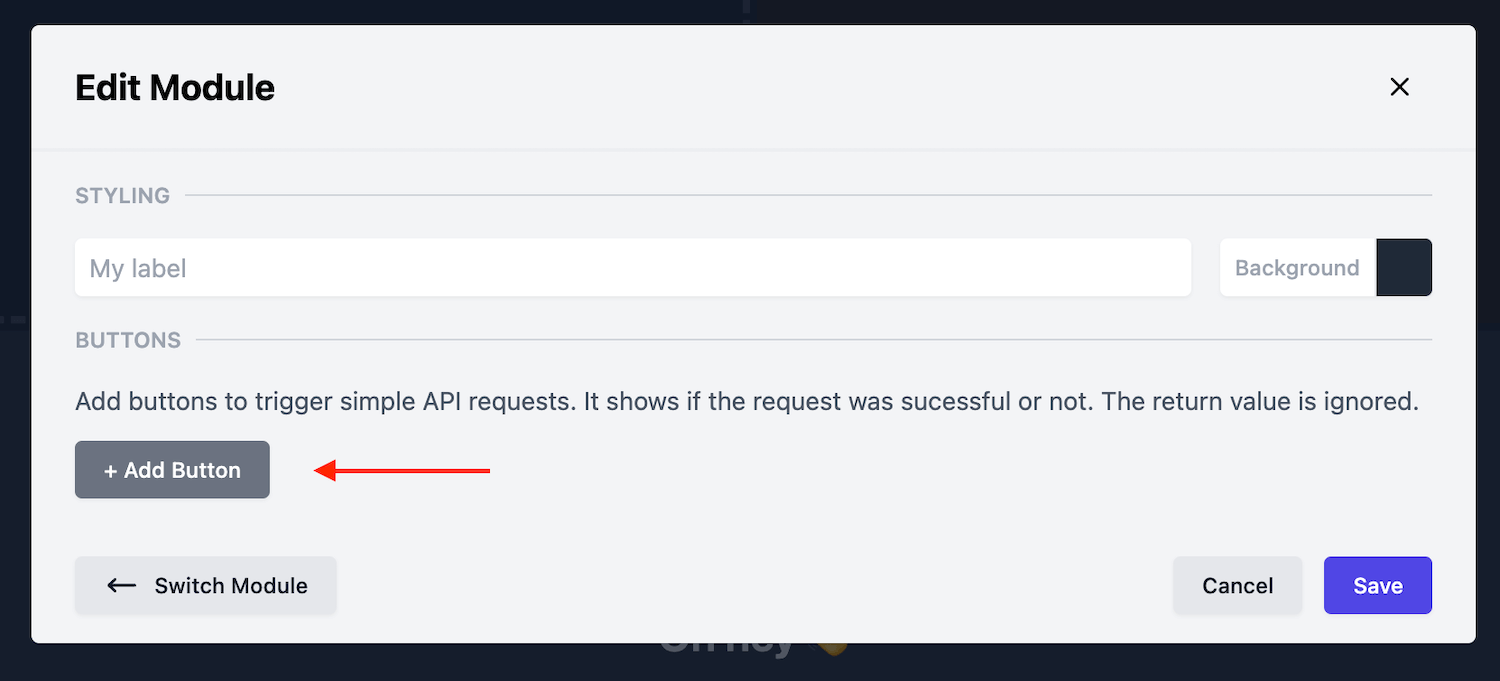
Adding a button
Add a button by clicking on the ”+ Add Button” option.
Customising a button
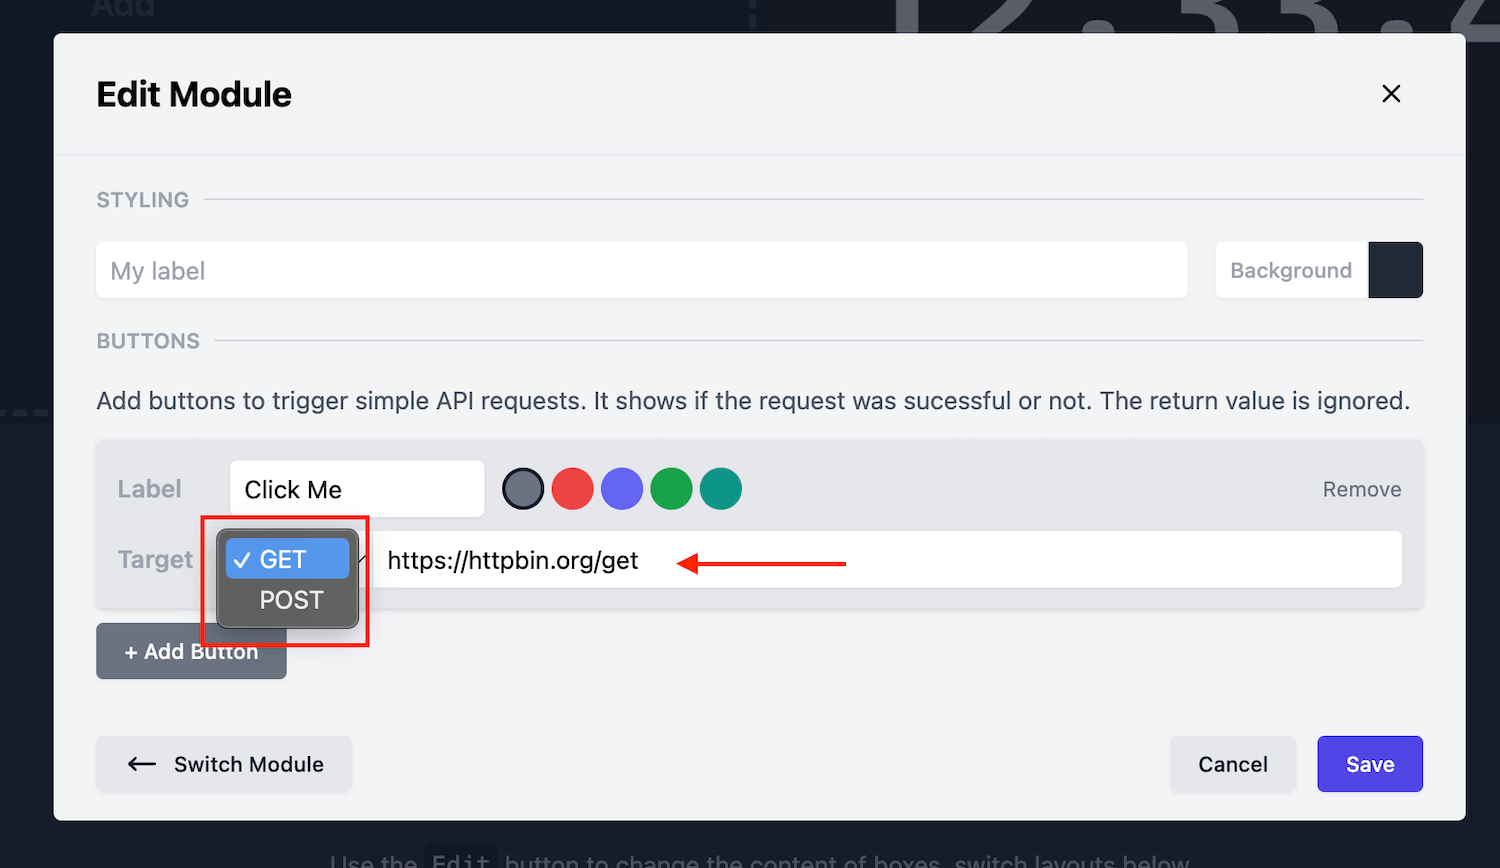
Once you’ve added a button start by giving it a label. This label will be used on your dashboard.
Next, you can set a custom colour for the button in order to differentiate between several buttons on your dashboard.
Finally, you’ll want to set a Target for the button.
In the Target menu, you can choose between a GET and POST request - choose the option that best suits your needs.
Then set the HTTP URL to send the request to. We’ve opted for ”https://httpbin.org/get” for our demo here.
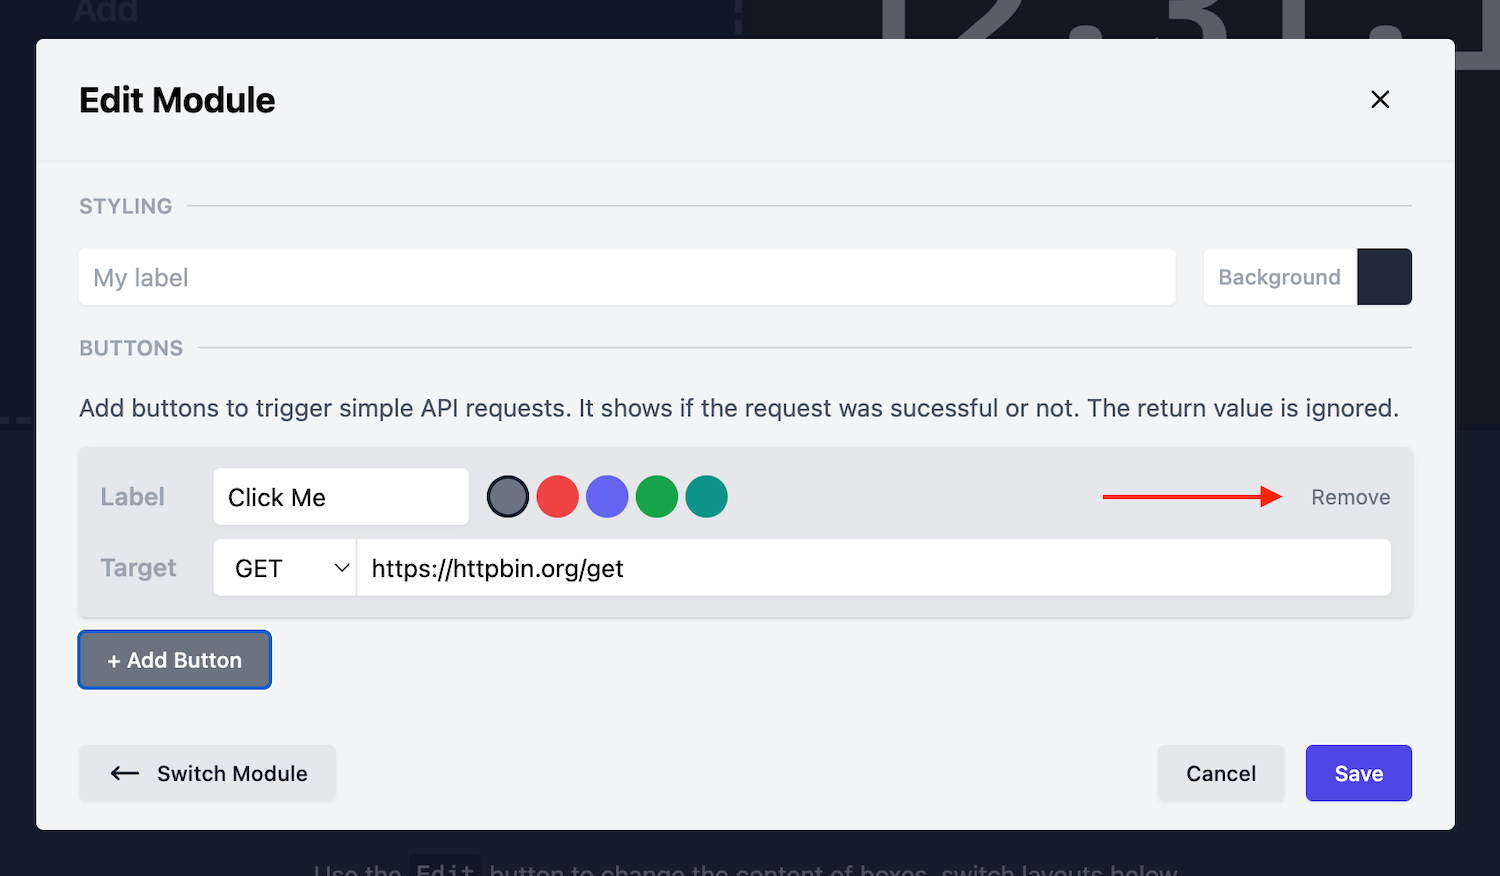
Remove a button
Remove a button by clicking on the “Remove” button.
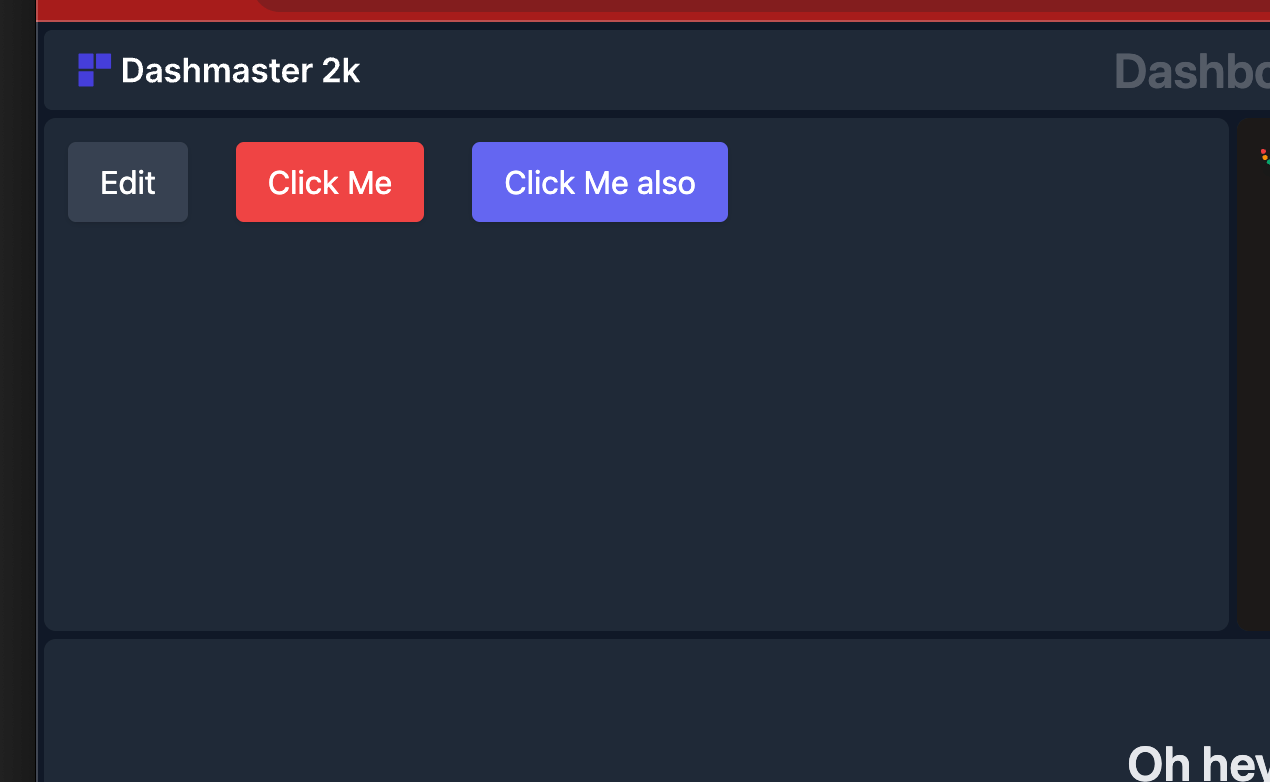
Buttons module on a dashboard
When you are done configuring the module, hit “Save”.
Then, you’ll see your new set of buttons ready to be clicked.
Clicking on a button on the Dashboard will send the HTTP request off to an external service - The return value is ignored.